How to integrate DotWallet
DotWallet is a lightweight wallet designed to help users easily and securely manage their digital assets. We will show how to integrate it with sCrypt-powered apps.
OAuth 2.0
OAuth 2.0 is an industry-standard authorization framework that enables third-party applications to access the resources of a user on a web service —- such as Facebook, Google, and Twitter -- without requiring the user to share their credentials directly with the application. It provides a secure and standardized way for users to grant limited access to their protected resources, such as their profile information or photos, to other applications. It works by introducing an authorization layer between the user, the application, and the web service hosting the user's data. Instead of sharing their username and password with the application, the user is redirected to the web service's authentication server. The user then authenticates themselves on the service, and upon successful authentication, the service issues an access token to the application. This access token represents the user's authorization to access specific resources.
If you are new to OAuth 2.0, check out these helpful tutorials:
- An Illustrated Guide to OAuth and OpenID Connect
- The Simplest Guide To OAuth 2.0
- An Introduction to OAuth 2
DotWallet's user authorization
DotWallet uses OAuth 2.0 to allow third-party applications to safely access certain capabilities authorized by DotWallet users. More specifically, it uses Oauth2's authorization code grant type as the diagram shows. See RFC6749 for details.

Follow these steps for a user authorization.
Construct URI.
Example URI:
https://api.ddpurse.com/v1/oauth2/authorize?client_id=YOUR-CLIENT-ID&redirect_uri=http%3A%2F%2FYOUR-REDIRECT-URL&response_type=code&state=YOUR-STATE&scope=user.infoURL Parameters:
Parameter Description client_id Developer’s dapp client_id redirect_uri The redirect URL after authorization. Needs to be url_encoded state It is recommended to use a random string of more than 32 bits (such as UUID). The state is used to verify the consistency of the request and callback. This can prevent csrf attacks. response_type Fill in the fixed value : codescope Authorization scope. The list of permissions that the user agrees to authorize. These permissions are required for certain API endpoints. Needs to be url_encoded. Use spaces to separate multiple permissions. For a list of currently supported scope permissions, please check the scope list here Redirect the user to the URI constructed in step 1
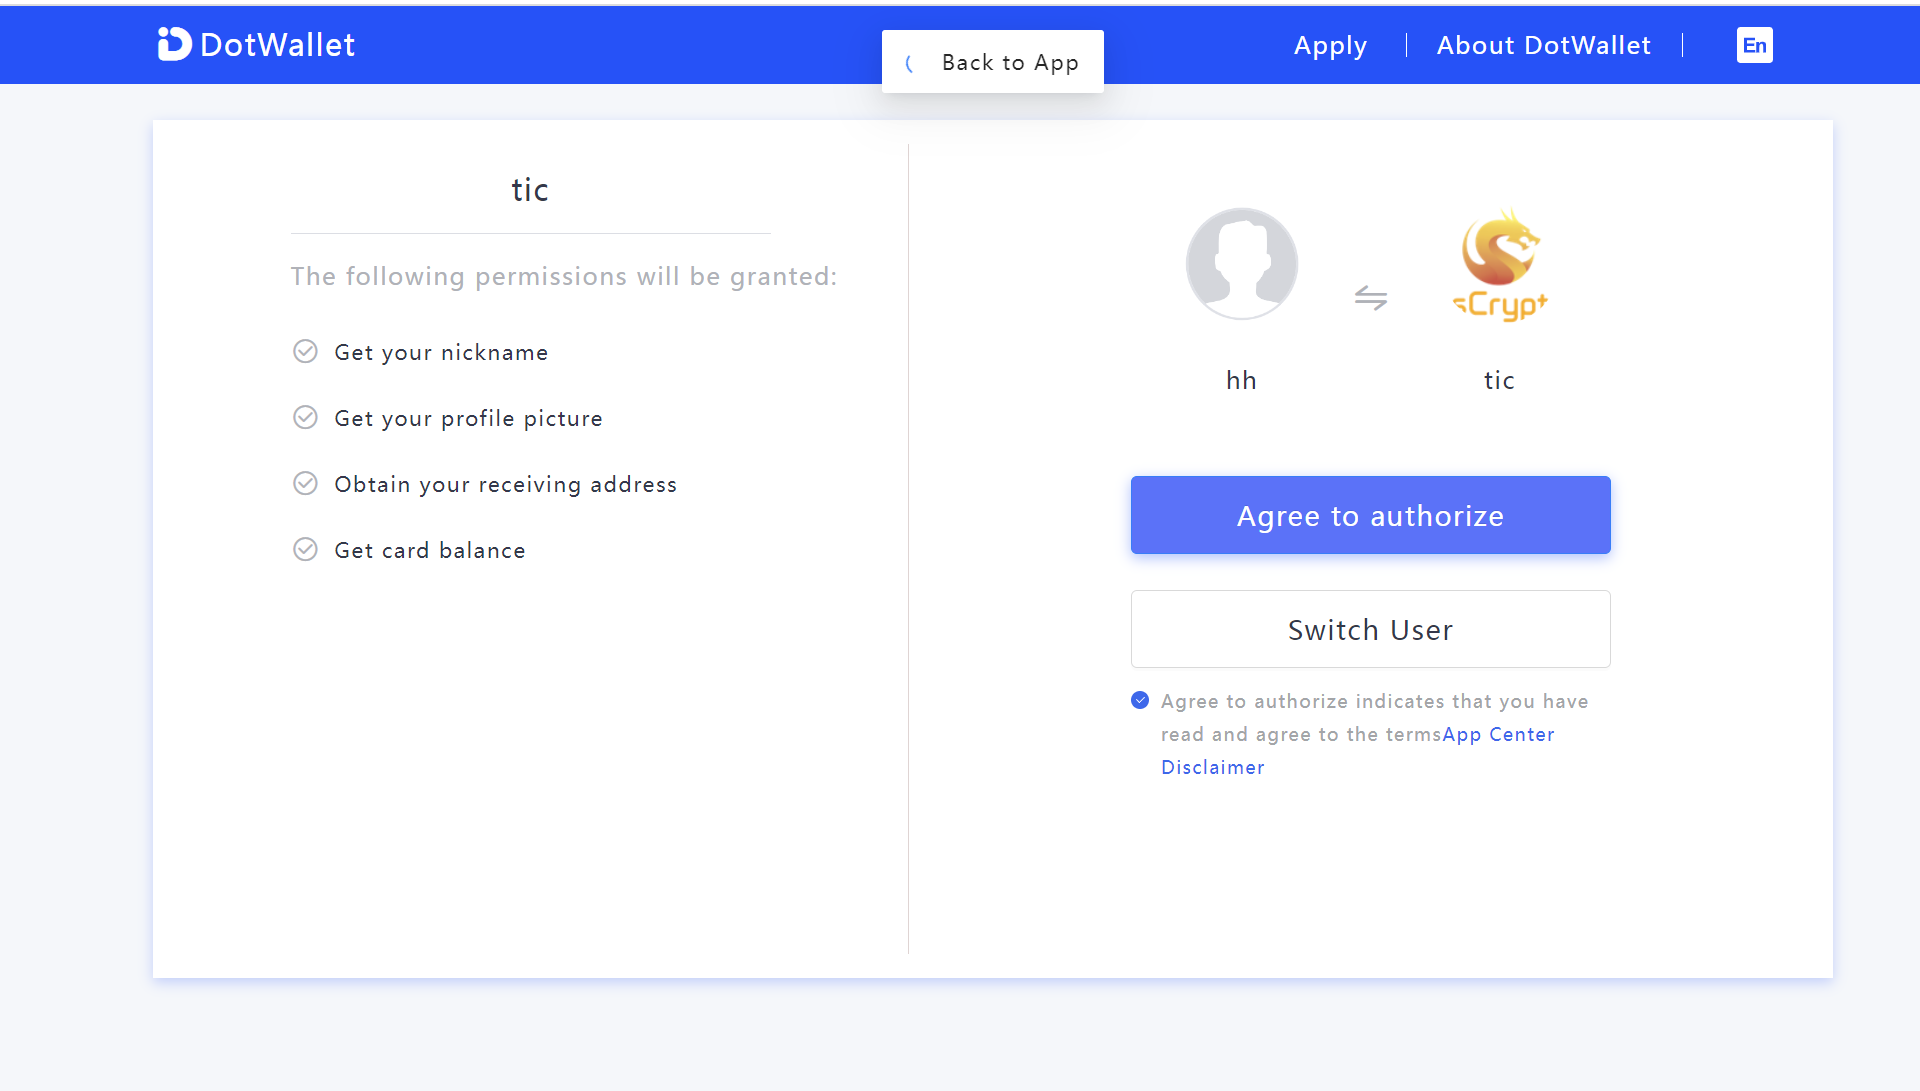
After clicking the link, the user will be directed to the DotWallet authorization page. DotWallet will ask the user to log in, and then ask whether they agree to authorize the application for the listed permission scopes.
Receive the
codethrough the callback uri.After the user agrees to authorization in step 2, DotWallet will redirect the client to the
redirect_urispecified by the application. The authorization codecodeand the providedstatewill be included in the query parameters.Exchange
codefor access_token. The access tokens are credentials used to access protected resources, which are issued by the authorization server.
To avoid security issues, any request for using or obtaining access_token must be made from the backend server. Do not disclose your access_token and client_secret1 on the client side.
DotWallet Developer Platform
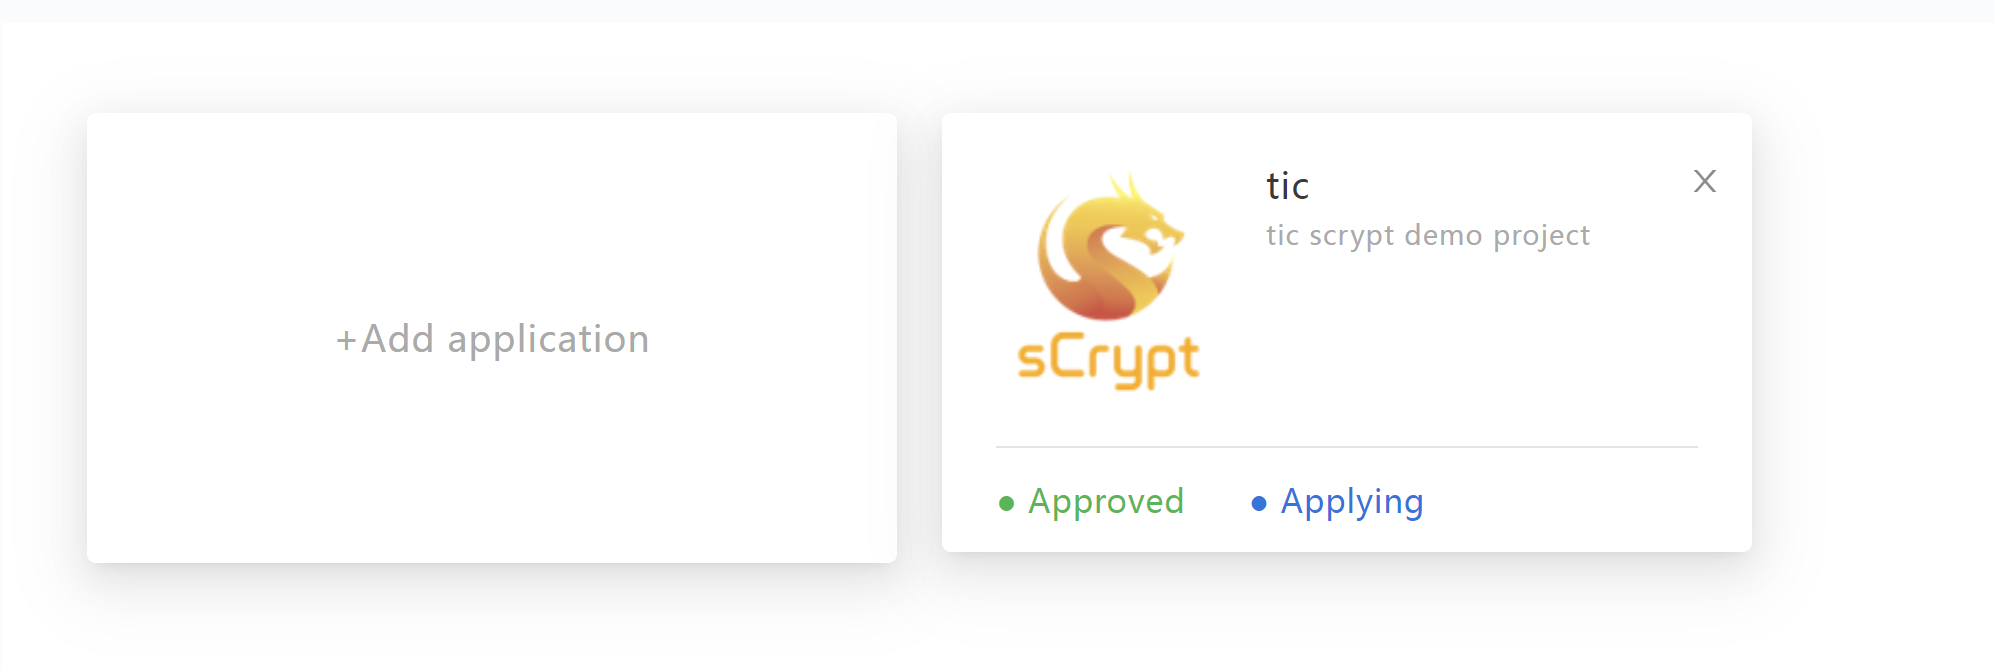
- Before using DotWallet, you need to register and create an app on DotWallet Developer Platform.

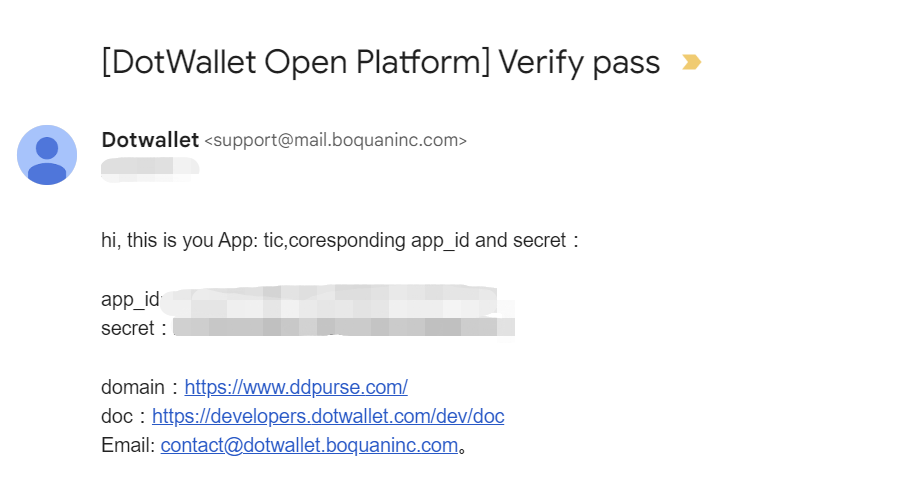
- After creating the app, you will receive an email containing
app_idandsecret.

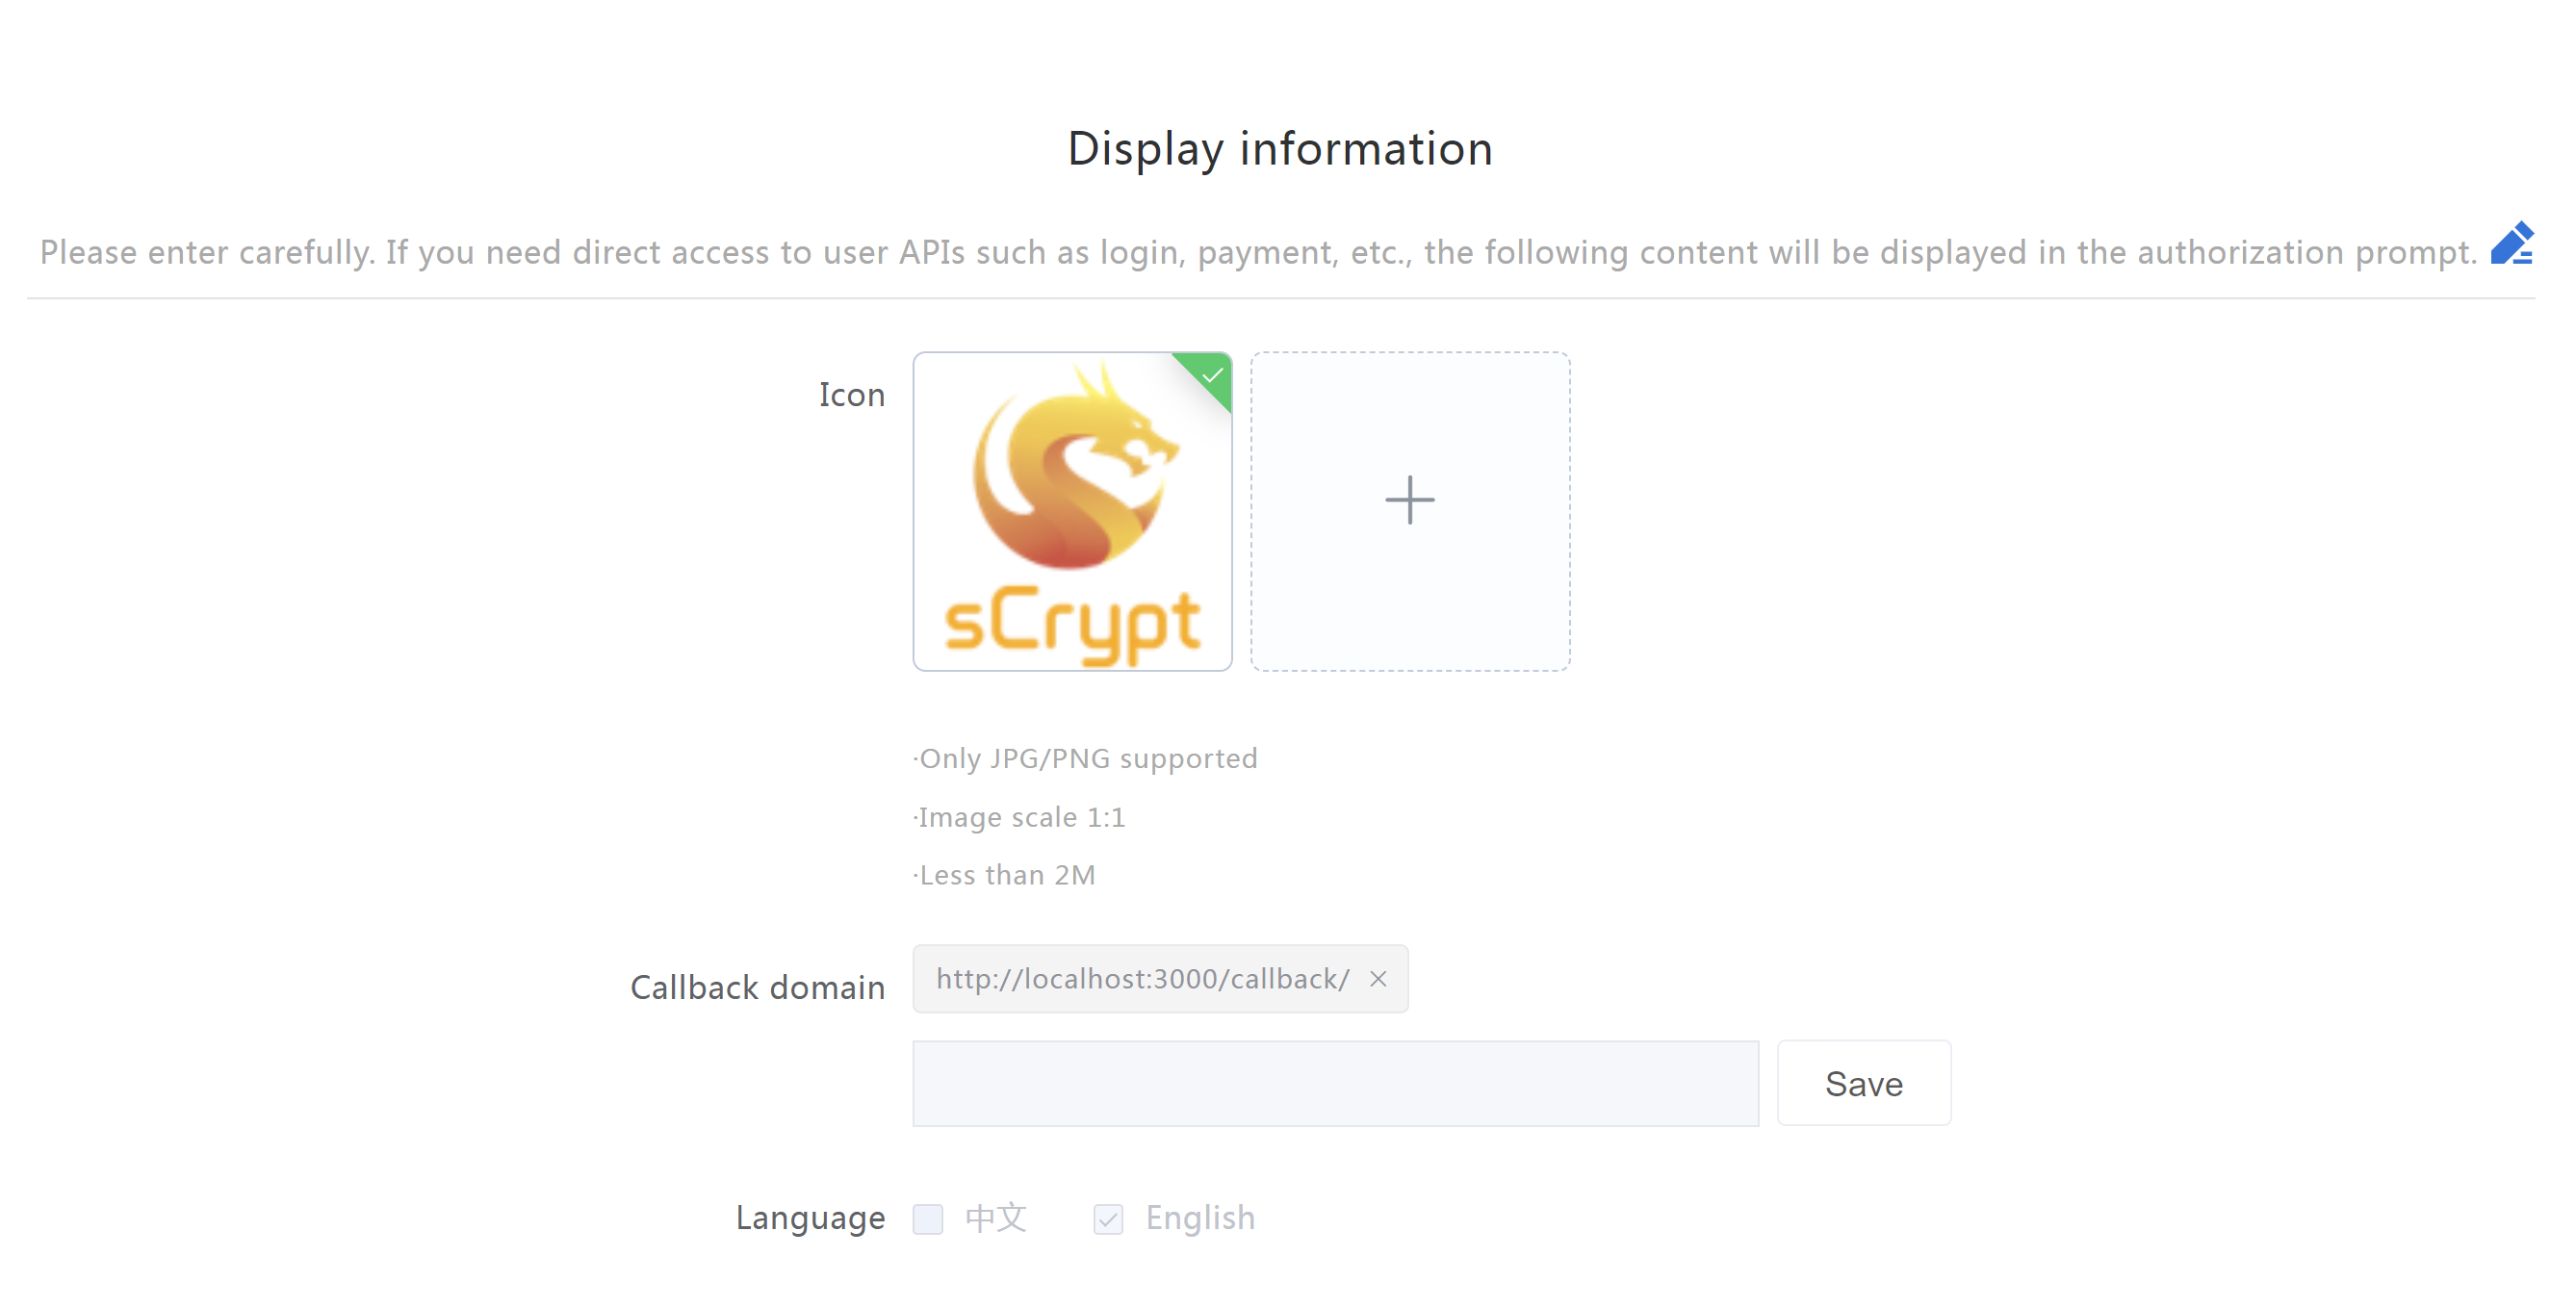
- Next, you need to set the redirection URI.
Redirect URLs are a critical part of the OAuth flow. After a user successfully authorizes an application, the authorization server will redirect the user back to the application. For example, in the figure below
http://localhost:3000/callback/is the redirection.

Callback domain in the form is the redirection URIs in OAuth.
Example Implementation
Here is an example to integration DotWallet in Nextjs, a popular React development framework.
- Construct URI.
export default async function Home() {
    const client_id = process.env.CLIENT_ID;
    const redirect_uri = encodeURIComponent(process.env.REDIRECT_URI || '');
    const scope = encodeURIComponent("user.info autopay.bsv");
    const state = crypto.randomUUID();
    const loginUrl = `https://api.ddpurse.com/authorize?client_id=${client_id}&redirect_uri=${redirect_uri}&response_type=code&scope=${scope}&state=${state}`;

    return (
      <main className="flex min-h-screen flex-col items-center justify-between p-24">
        <div className="m-4 p-4 bg-blue-200 font-bold rounded-lg">
          <a href={loginUrl}>DotWallet Login</a>
        </div>
      </main>
    );
}
If the user clicks the DotWallet Login link, the page will be redirected to the wallet authorization page.

- After the user clicks Agree to authorize to log in, the authorization server redirects the user to the redirection URI. The following code receives the
codethrough the callback uri, exchanges thecodeforaccess_tokenand save it.
Inside the app directory, folders are used to define routes in nextjs. we create src/app/callback/route.ts to handle the redirection request.
import { redirect, notFound } from 'next/navigation';

import token from "../token"

export async function GET(request: Request) {
  const { searchParams } = new URL(request.url);
  const code = searchParams.get('code');

  if (code) {
    // exchange the code for access_token
    const res = await fetch(`https://api.ddpurse.com/v1/oauth2/get_access_token`, {
      body: JSON.stringify({
        code,
        redirect_uri: process.env.REDIRECT_URI,
        grant_type: "authorization_code",
        client_secret: process.env.CLIENT_SECRET,
        client_id: process.env.CLIENT_ID,
      }),
      headers: {
        'Content-Type': 'application/json',
      },
      method: 'POST'
    });
    const { code: apiCode, data, msg } = await res.json();

    if (apiCode === 0) {
      const { access_token } = data;
      // save access_token
      token.access_token = access_token;
      // redirect to balance page.
      redirect('/balance');
    }

  }

  notFound();
}
DotWalletSigner
sCrypt SDK provides DotWalletSigner for quick integration with DotWallet.
After redirect to the /balance page, we can create a DotWalletSigner with the OAuth access token, which is passed as the first argument.
import { DotwalletSigner, DefaultProvider } from "scrypt-ts";
import token from "../token";

async function getData() {
  const provider = new DefaultProvider();
  const signer = new DotwalletSigner(token.access_token, provider);

  const balance = await signer.getBalance();

  return { balance: balance.confirmed + balance.unconfirmed };
}

export default async function Balance() {
  const data = await getData();

  return (
    <main className="flex min-h-screen flex-col items-center justify-between p-24">
      <div className="m-4 p-4 bg-blue-200 font-bold rounded-lg">
        <label>balance</label> {data.balance}
      </div>
    </main>
  );
}
After creating DotWalletSigner with access token, you can call all interfaces of DotWalletSigner as in other signers.
For example, the example uses the signer to check user's balance.
Congrats! You have completed the integration of DotWallet. Full code is here.
[1] client_secret is stored in the backend. It's used to exchange authorization code for access token.