Tutorial 1: Inscribe Image
Overview
In this tutorial, we will use contract HashLock as an example to introduce how to inscribe an image on an ordinal, which is locked in a smart contract. It can be transferred by calling the contract.
Your wallet must be funded before inscribing the image.
First, you install scrypt-ord as an dependency in your project.
npm install scrypt-ord
Contract
The new contract HashLockNFT is almost the same as the previous implementation, except it must be derived from OrdinalNFT instead of SmartContract, which comes with package scrypt-ord.
class HashLockNFT extends OrdinalNFT {
    ...
}
It also stores a hash value in the contract. It will be unlocked successfully when calling the public method unlock with the correct hash preimage.
class HashLockNFT extends OrdinalNFT {
    @prop()
    hash: Sha256

    ...

    @method()
    public unlock(message: ByteString) {
        assert(this.hash == sha256(message), 'hashes are not equal')
    }
}
The base class OrdinalNFT encapsulates helper functions to handle ordinals. If you want to create your own contract that control Ordinal NFTs, you must derive from it.
Inscribe Image
We first create an instance of contract HashLockNFT. Next we call inscribeImage on the instance to inscribe an image.
// create contract instance
const message = toByteString('Hello sCrypt', true)
const hash = sha256(message)
const hashLock = new HashLockNFT(hash)
...
// inscribe image into contract
const image = readImage()
const mintTx = await hashLock.inscribeImage(image, 'image/png')
Execute command npx ts-node tests/examples/inscribeImage.ts to run this example.

Then you can check your inscription on a block explorer.
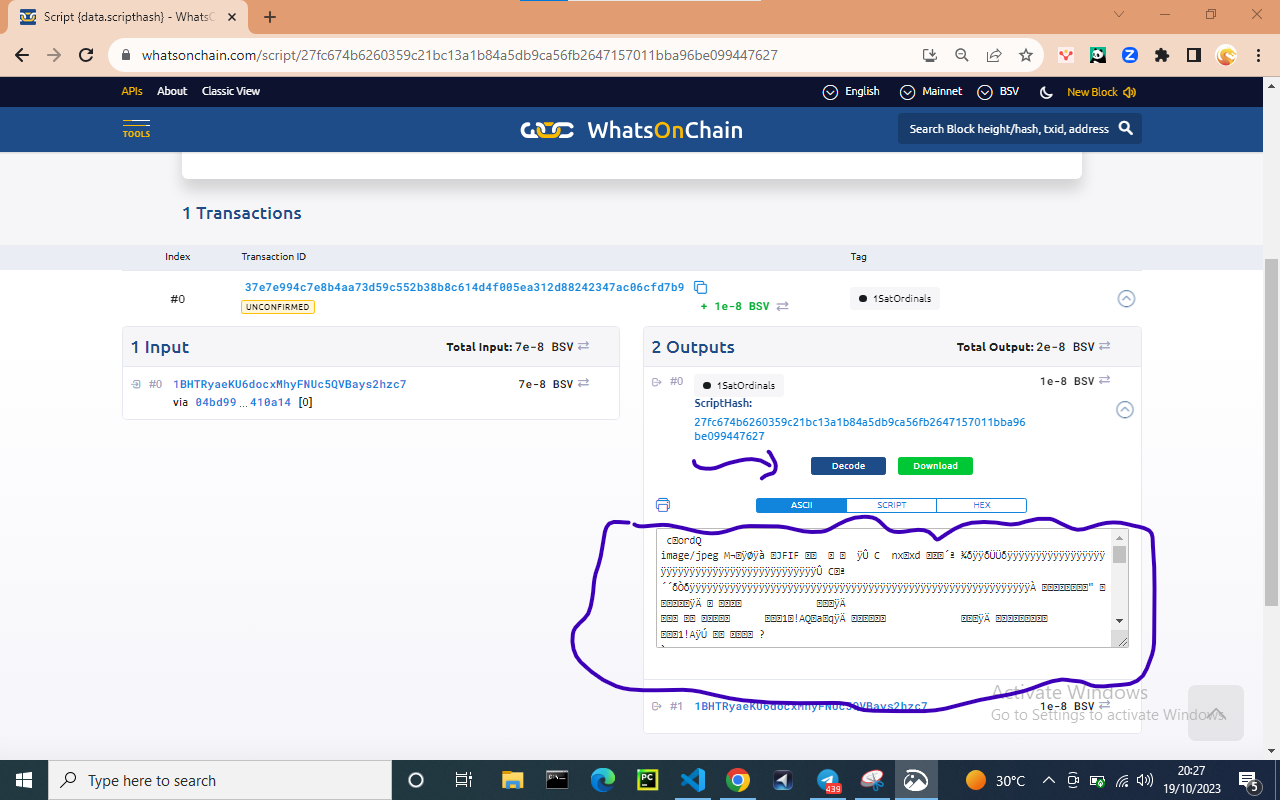
Click Decode.
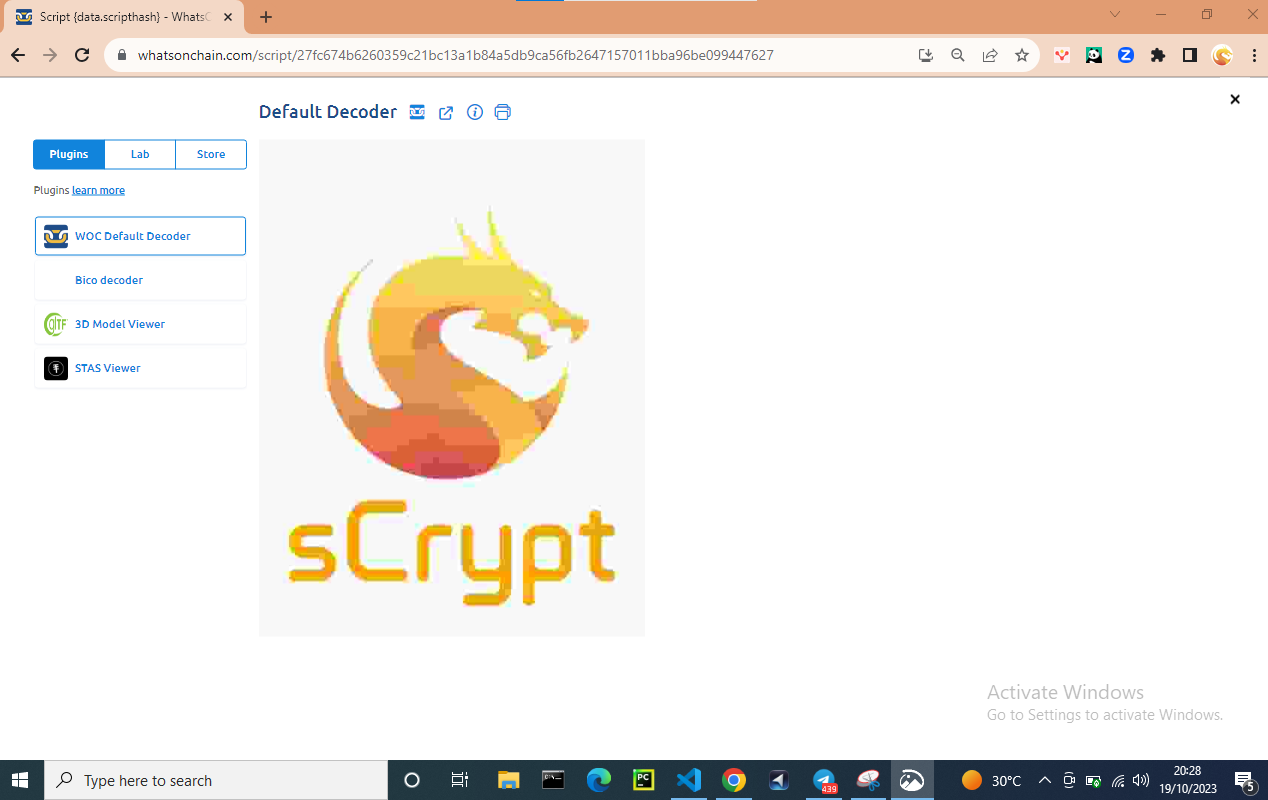
Now that the inscription is locked to a contract instance, it is controlled by the smart contract, which means it can only be transferred when the hash lock is unlocked.
This is different from using a P2PKH address to receive the inscription, where the inscription is controlled by a private key.
Transfer the Inscription
The contract instance holds the inscription and we transfer it to a bitcoin address.
Step 1. Create Receiver Instance
Class OrdiNFTP2PKH represents an address that can hold inscriptions. Its constructor takes one parameter which is the receiving address.
const receiver = new OrdiNFTP2PKH(Addr(address.toByteString()))
Step 2. Call the Contract
Similar to contract calling before, we call the unlock of HashLockNFT as follows.
const { tx: transferTx } = await hashLock.methods.unlock(
    message,
    {
        transfer: receiver,  // <-----
    } as OrdiMethodCallOptions<HashLockNFT>
)
We pass the receiver instance to transfer of struct OrdiMethodCallOptions.
Conclusion
Great! You have finished the tutorial on how to inscribe and transfer a 1Sat Ordinal with a smart contract.
The full complete contract and example can be found in sCrypt's repository.