Tutorial 1: Hello World
Overview
In this tutorial, we will cover how to create a "Hello World" smart contract, deploy it, and call it.
Before starting, ensure all prerequisite tools are installed.
Create a new project
Run the following commands to create a new project:
npx scrypt-cli project helloworld
cd helloworld
npm install
The resulting project will contain a sample smart contract /src/contracts/helloworld.ts, along with all the scaffolding.
For this example, let's modify it to the following code:
import { assert, ByteString, method, prop, sha256, Sha256, SmartContract } from 'scrypt-ts'

export class Helloworld extends SmartContract {

    @prop()
    hash: Sha256;

    constructor(hash: Sha256){
        super(...arguments);
        this.hash = hash;
    }

    @method()
    public unlock(message: ByteString) {
        assert(sha256(message) == this.hash, 'Hash does not match')
    }
}
This Helloworld contract stores the sha256 hash of a message in the contract property hash. Only a message which hashes to the value set in this.hash will unlock the contract.
Now let’s look at what is in the smart contract.
SmartContract: all smart contracts must extend theSmartContractbase class.@prop: the@propdecorator marks a contract property.@method: the@methoddecorator marks a contract method. A public method is an entry point to a contract.assert: throws an error and makes the method call fail if its first argument isfalse. Here it ensures the passed message hashed to the expected digest.
Compile Contract
- Run following command to compile the
Helloworldcontract:
npx scrypt-cli compile
This command will generate a contract artifact file at /artifacts/helloworld.json.
- Then call the
loadArtifact()function in the code:
await Helloworld.loadArtifact()
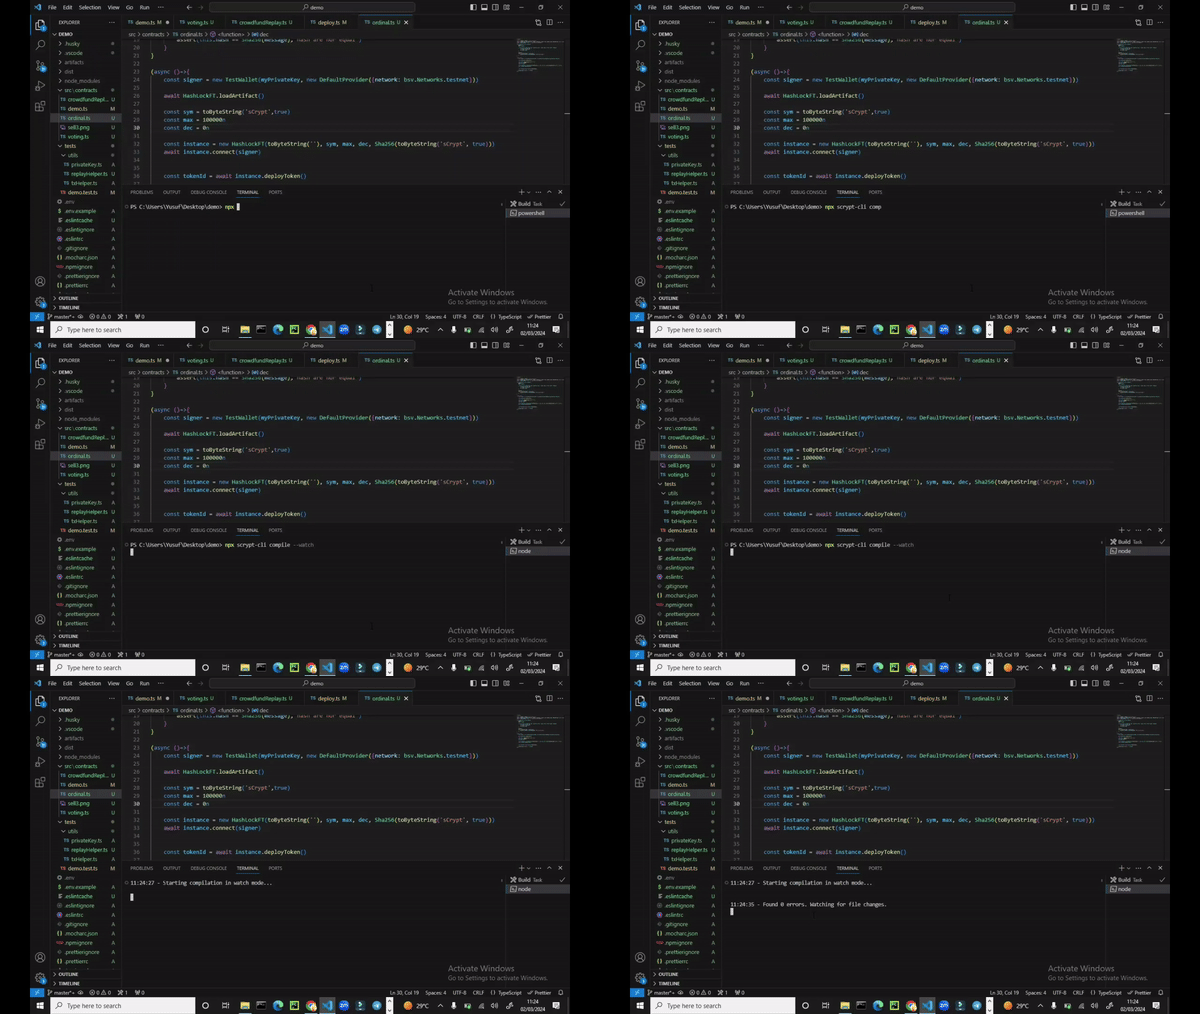
Compile using the watch option
Monitoring for Real-time Error Detection
npx scrypt-cli compile --watch
The watch option in the provided command continuously monitors errors during the sCrypt compilation process.
Watch mode enables users to observe real-time updates and notifications regarding any errors specific to sCrypt, which are distinct from TypeScript errors.
Contract Deployment & Call
Before we deploy the contract, you need to generate a Bitcoin key.
npm run genprivkey
then follow the faucet instructions to fund the key.
Next, start deploying and calling the contract:
- To deploy a smart contract, simply call its
deploymethod. - To call a smart contract, call one of its public methods.
For this example, overwrite deploy.ts in the root of the project with the following code to deploy and call the Helloworld contract:
import { Helloworld } from './src/contracts/helloworld'
import { getDefaultSigner } from './tests/utils/txHelper'
import { toByteString, sha256 } from 'scrypt-ts'

(async () => {

    // set network env
    process.env.NETWORK = 'testnet'
    // alternatively, set `NETWORK=testnet` in the .env file

    const message = toByteString('hello world', true)

    await Helloworld.loadArtifact()
    const instance = new Helloworld(sha256(message))

    // connect to a signer
    await instance.connect(getDefaultSigner())

    // deploy the contract and lock up 42 satoshis in it
    const deployTx = await instance.deploy(42)
    console.log('Helloworld contract deployed: ', deployTx.id)

    // call the contract
    const { tx: callTx } = await instance.methods.unlock(message)
    console.log('Helloworld contract `unlock` called: ', callTx.id)
})()
Run the following command to deploy AND call our example contract.
npx ts-node deploy.ts
You will see some output like:

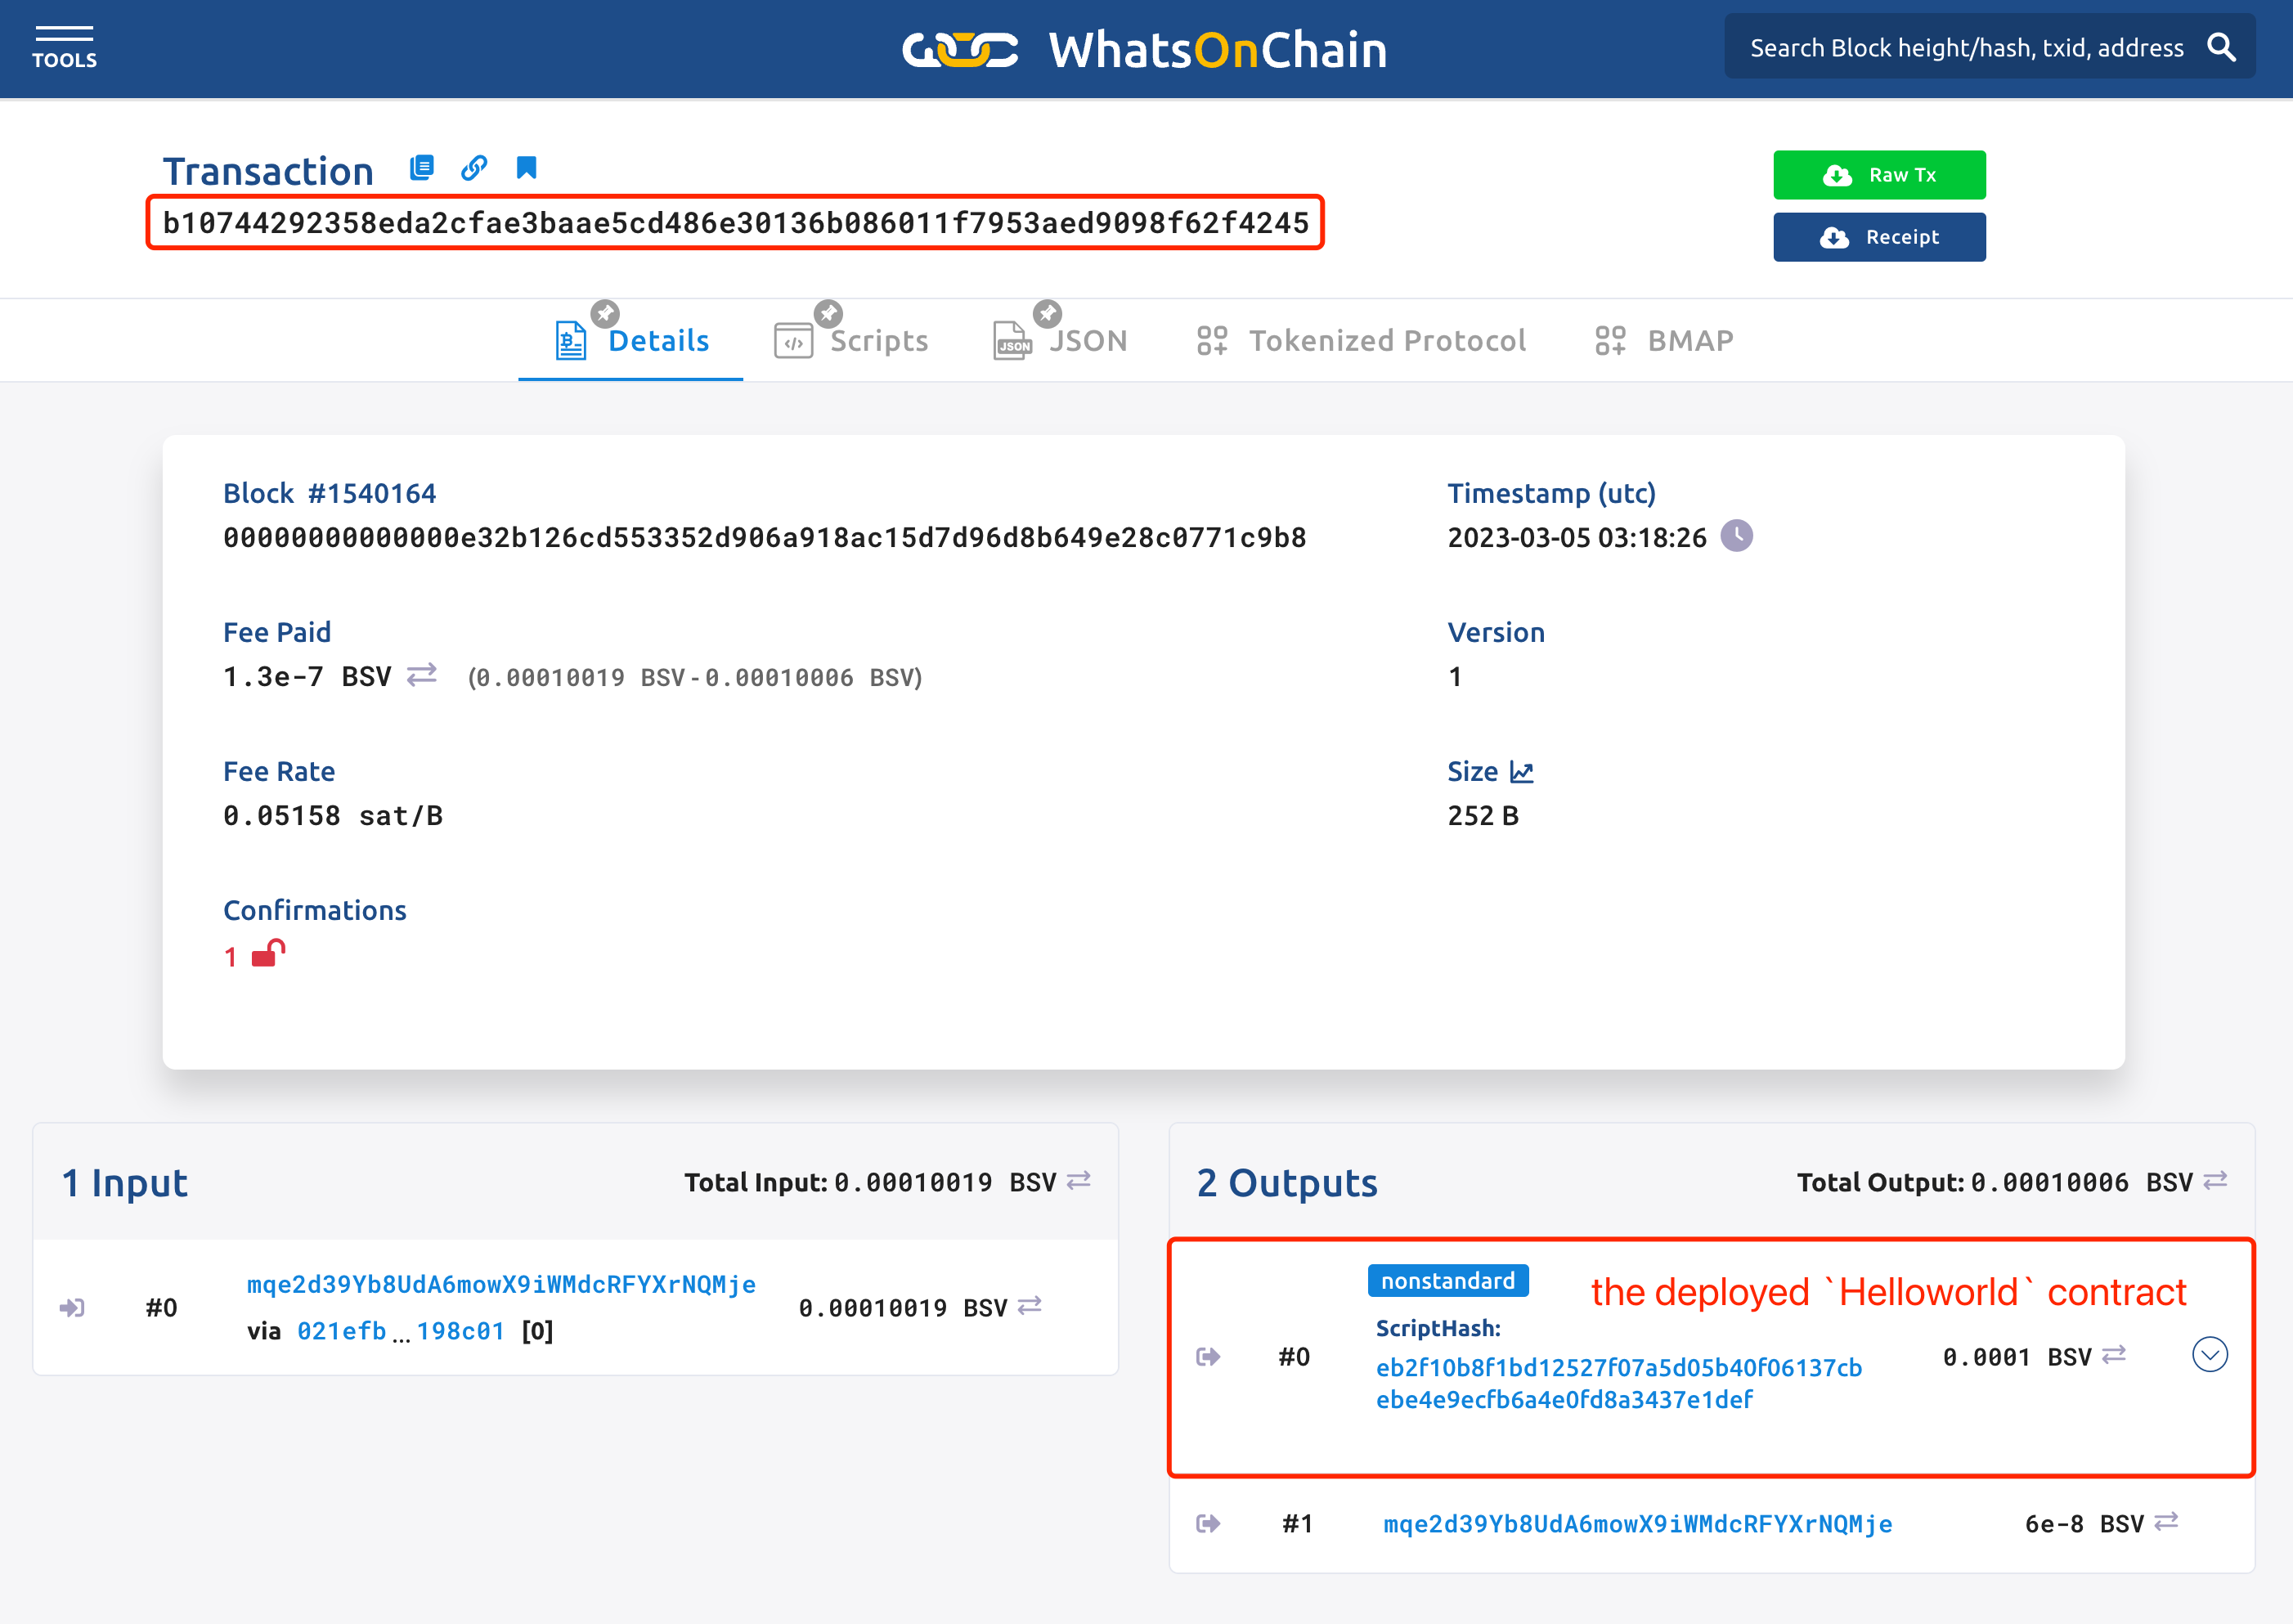
You can view the deployment transaction using the WhatsOnChain blockchain explorer:
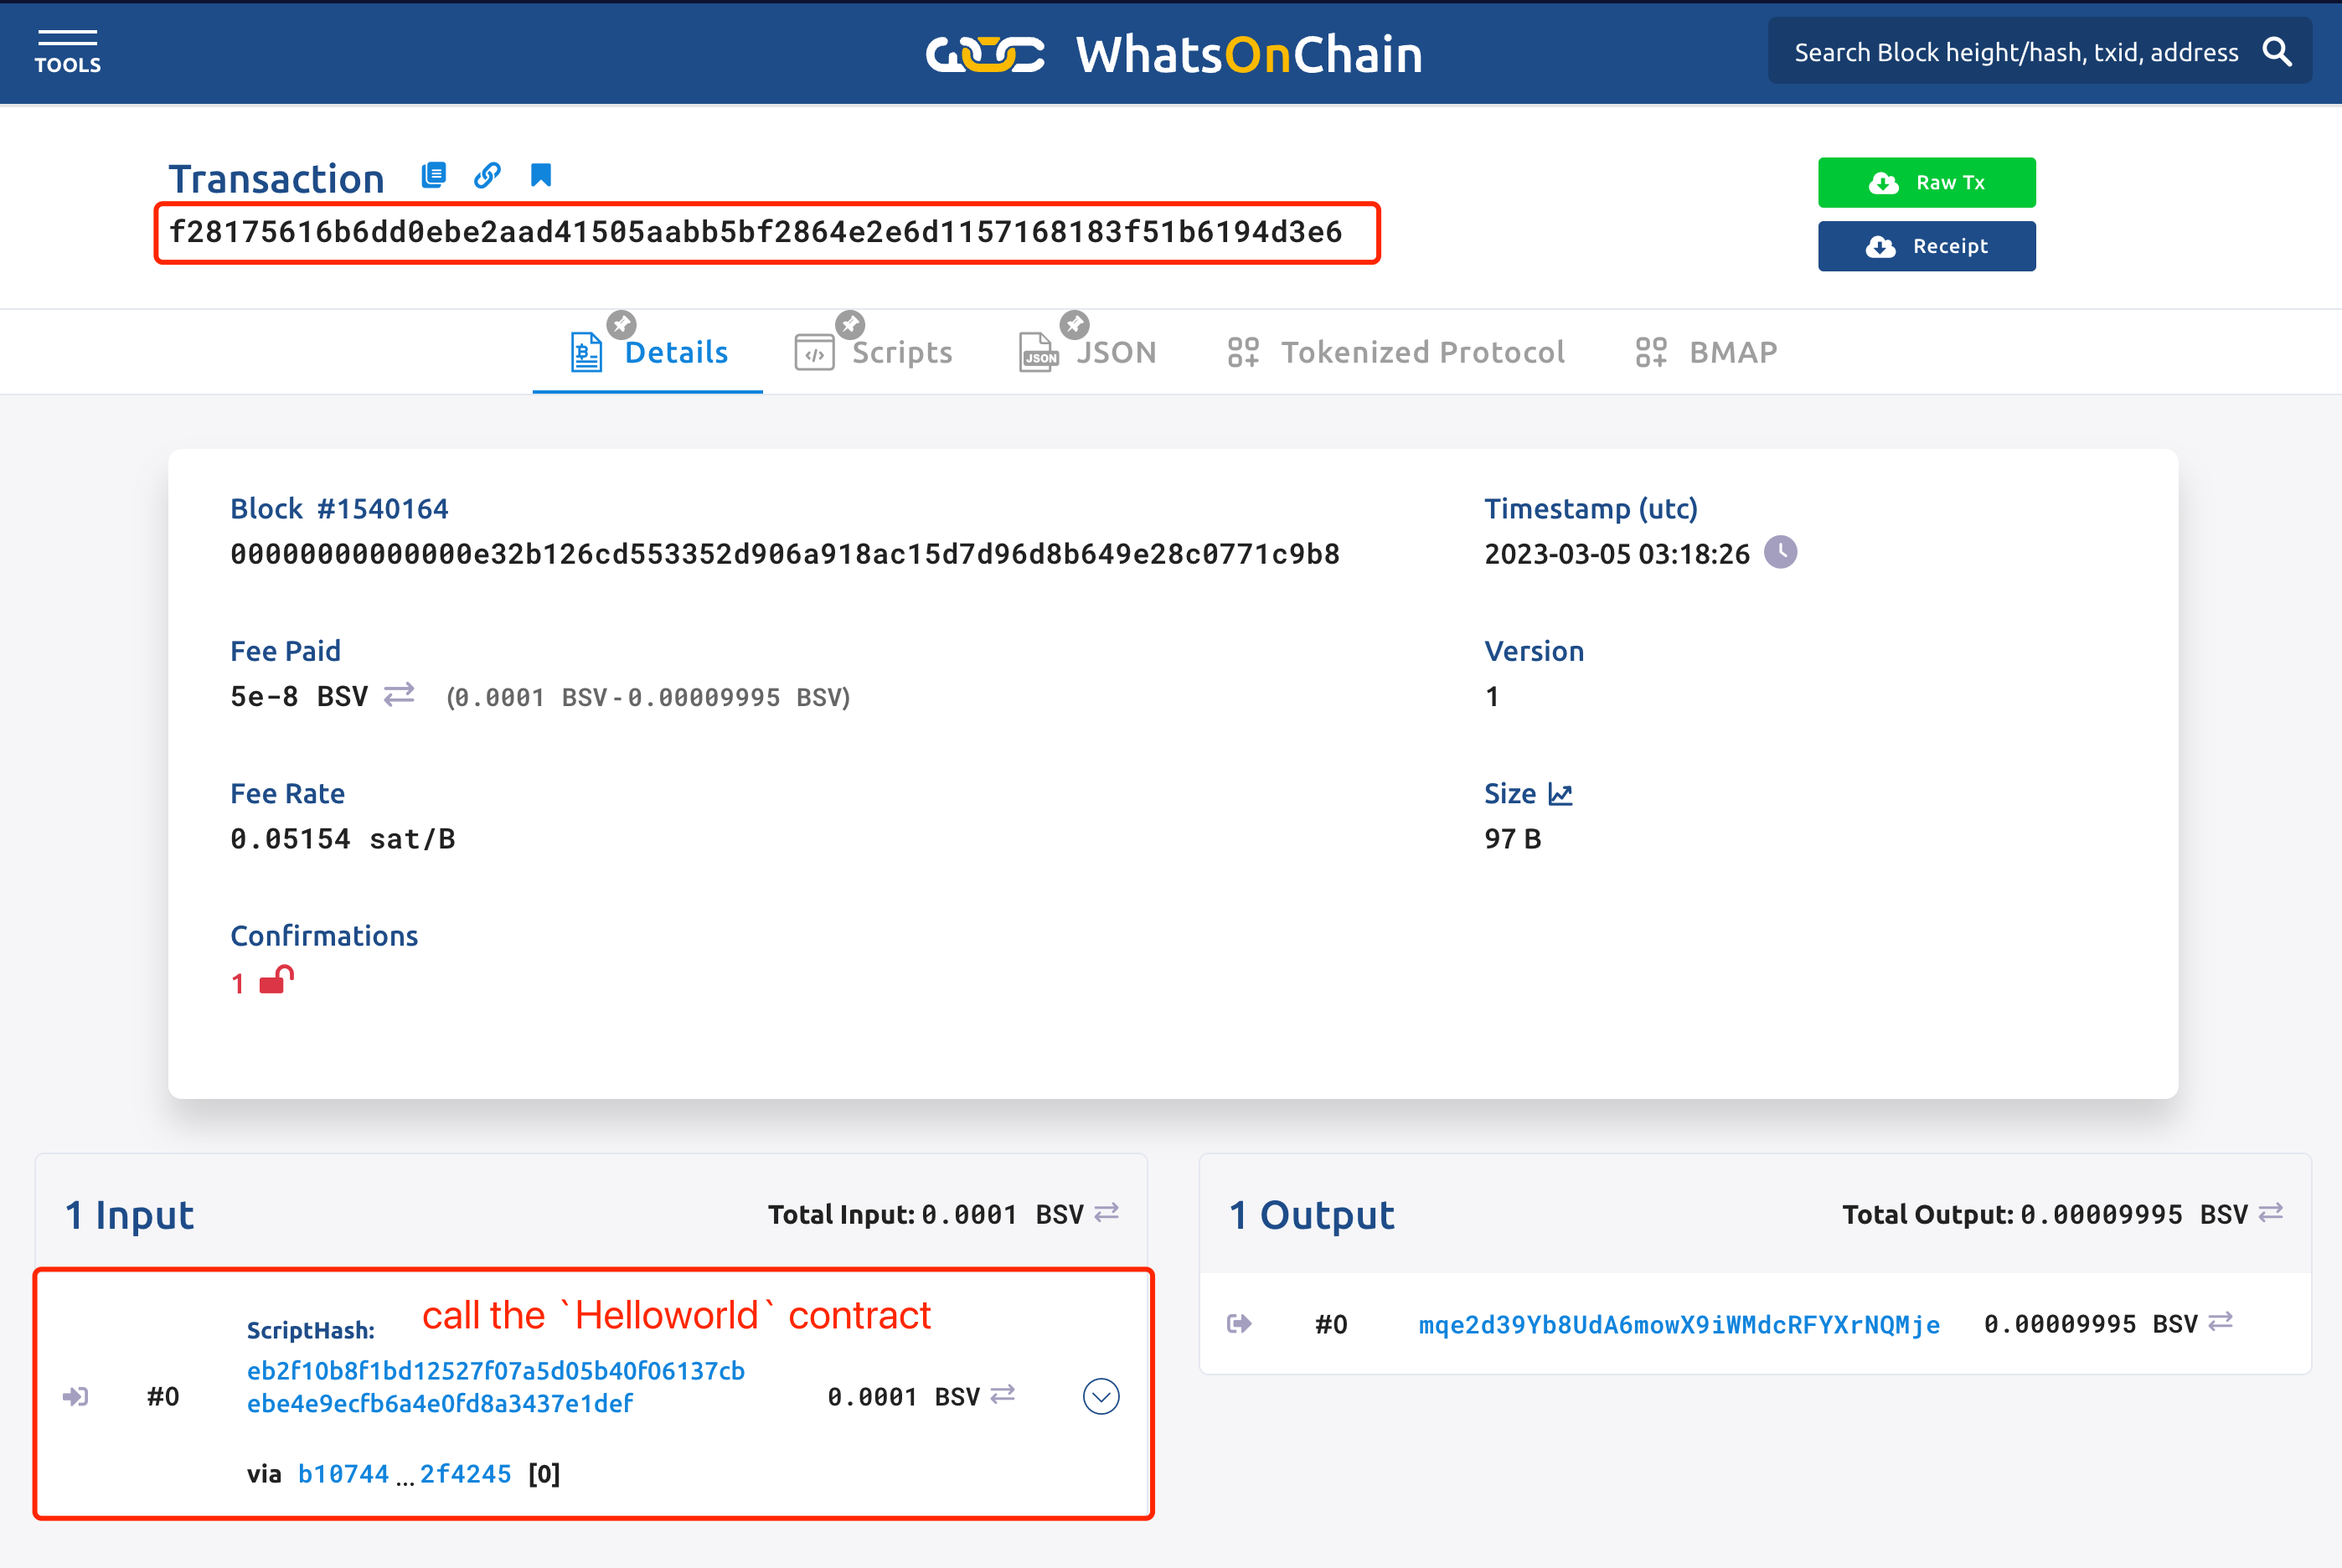
You can also view the calling transaction:
Congrats! You have deployed and called your first Bitcoin smart contract.